Two ways to make a part
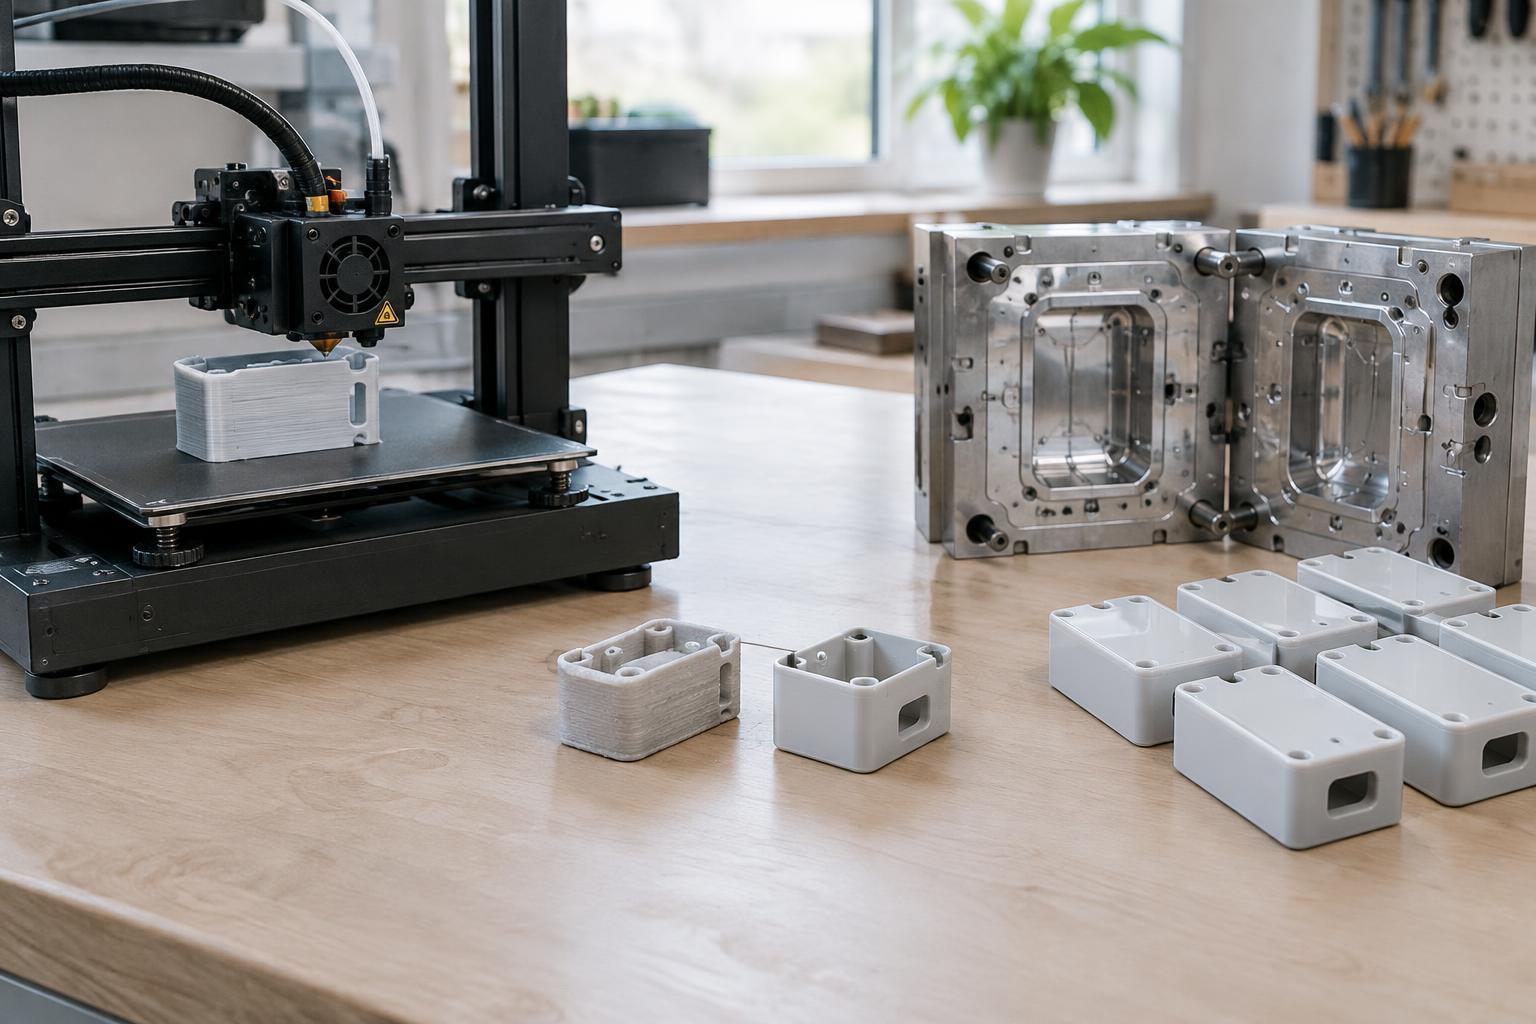
3D printing builds a part from a digital model, usually one layer at a time. Different printing processes use different materials and produce different results: a desktop filament printer is not interchangeable with a machine that cures liquid resin or fuses powdered plastic. What they share is the ability to make a part without first making a dedicated mold. That makes printing useful when a design is still changing or only a few pieces are needed.
Injection molding works differently. Melted material is pushed into a mold cavity, cooled and released as a formed part. Creating the mold requires planning and an upfront investment, but the same tool can then make many copies. It is a common choice for repeatable plastic parts once their shape and material have been settled. Neither method is automatically more advanced; each removes a different obstacle in the journey from idea to usable product.
Start with the question your prototype must answer
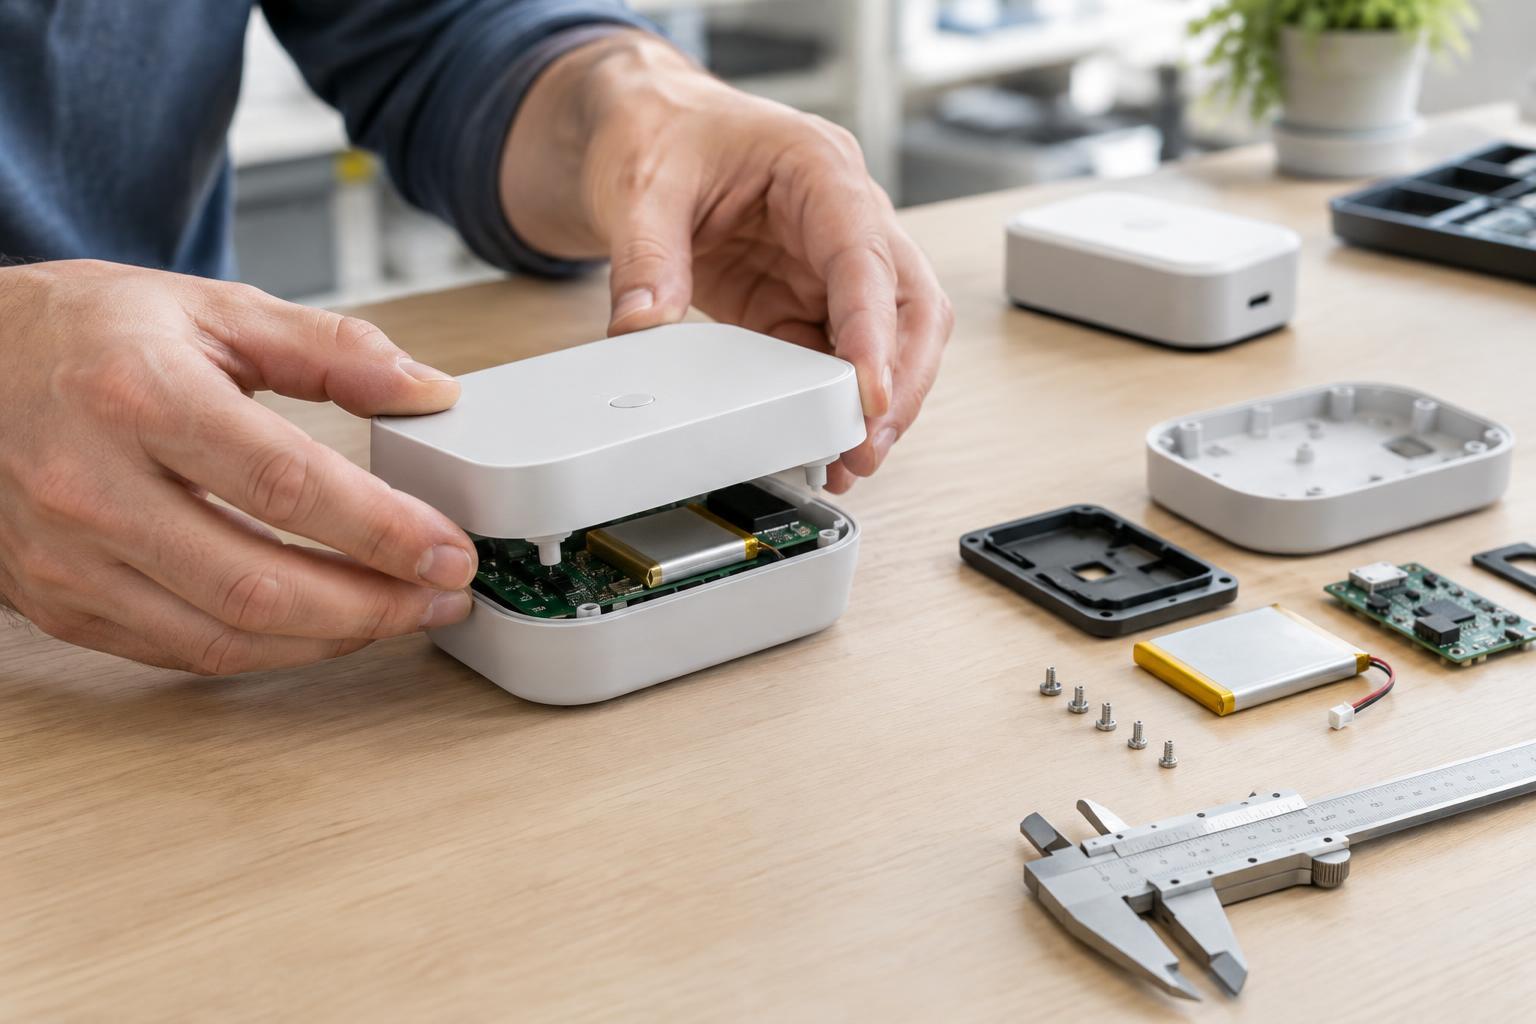
An early prototype might need to show how a handle feels, whether two components fit together or whether a concept looks right on a desk. A printed part can answer many of these questions quickly because the design can be revised without changing a mold. A team developing a small enclosure, for example, could print several button positions and compare them before choosing one. Its surface finish or strength might not match the eventual manufactured version, but it can still reveal a misplaced button or an awkward edge.
Later tests may require a closer match to the finished product. A printed snap-fit might behave differently from a molded one because its material and internal structure differ. If the question is whether the final material, wall thickness or assembly will work reliably, a print alone may not provide enough evidence. At that stage, a prototype made with a production-like molding process—or a limited production run—can be more informative, even if it takes more preparation.
Why production volume changes the calculation
Printing generally avoids the initial cost of a dedicated mold, but every additional part still takes machine time, material and often finishing work. Molding reverses that pattern: the tool costs time and money before the first acceptable part emerges, while making additional parts can become more efficient once the process is running well. The sensible choice depends on the part’s geometry, material, required finish and expected quantity. There is no single order size at which every project should switch methods.
Changes also have a price. Editing a digital file before another print is usually straightforward. Altering a finished mold can be more involved, particularly if a change affects how the part releases from the tool. If demand is uncertain, printing small batches may avoid committing to tooling too early. If demand is stable and the design is unlikely to change, molding may offer a better route to consistent parts at scale.
Design for the process you intend to use
A design that prints successfully is not necessarily ready to mold. Printers can produce some internal shapes or small batches of varied designs that would be difficult to make with a conventional mold. Printed surfaces, however, may need cleanup, and some features need support during printing. The orientation of a printed part can also affect its appearance and performance. These details matter when a prototype will be handled, assembled or tested.
Molded parts need their own planning. Walls should be designed with the flow and cooling of material in mind, and the finished part must be able to leave the mold. Features such as draft angles can help with release; deep recesses or undercuts may complicate tooling. Thinking about these constraints before finalizing the shape can prevent a convincing printed prototype from becoming an unexpectedly difficult production part. A manufacturer can help assess the details of a particular design.
A practical route from idea to product
For many products, the useful question is not “Which process wins?” but “What should each process do?” Printing can support the first rounds of shape, fit and user-handling checks. Once those choices are clearer, a team can refine the design for molding and test parts that better represent the intended production process. This sequence can reduce avoidable changes to a mold without asking an early print to prove more than it can.
Before choosing a route, list what the next part must demonstrate: appearance, fit, strength, finish, material behavior or repeatability. Then estimate how many parts are needed and how likely the design is to change. A one-off concept model and a durable consumer-device housing may call for different answers, even if they look similar on screen. Matching the method to the decision at hand is more useful than treating either technology as the default for every stage.